
Archive for the ‘Emails’ Category
How to set up your email account on a Samsung Galaxy
Feb 18 09
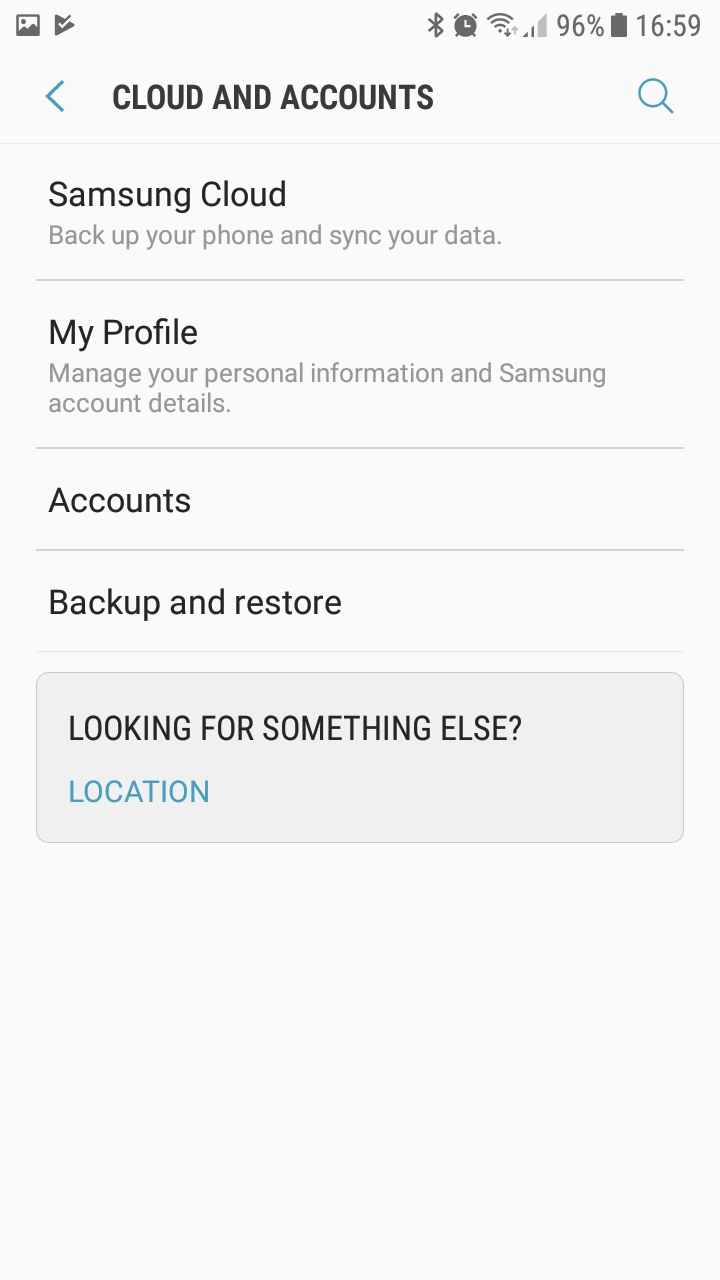
The following instructions are for setting up your domain’s email address on your Samsung Galaxy device. Firstly go the the Settings sections of your device and click on ‘Cloud and Accounts’ and then click on ‘Accounts’

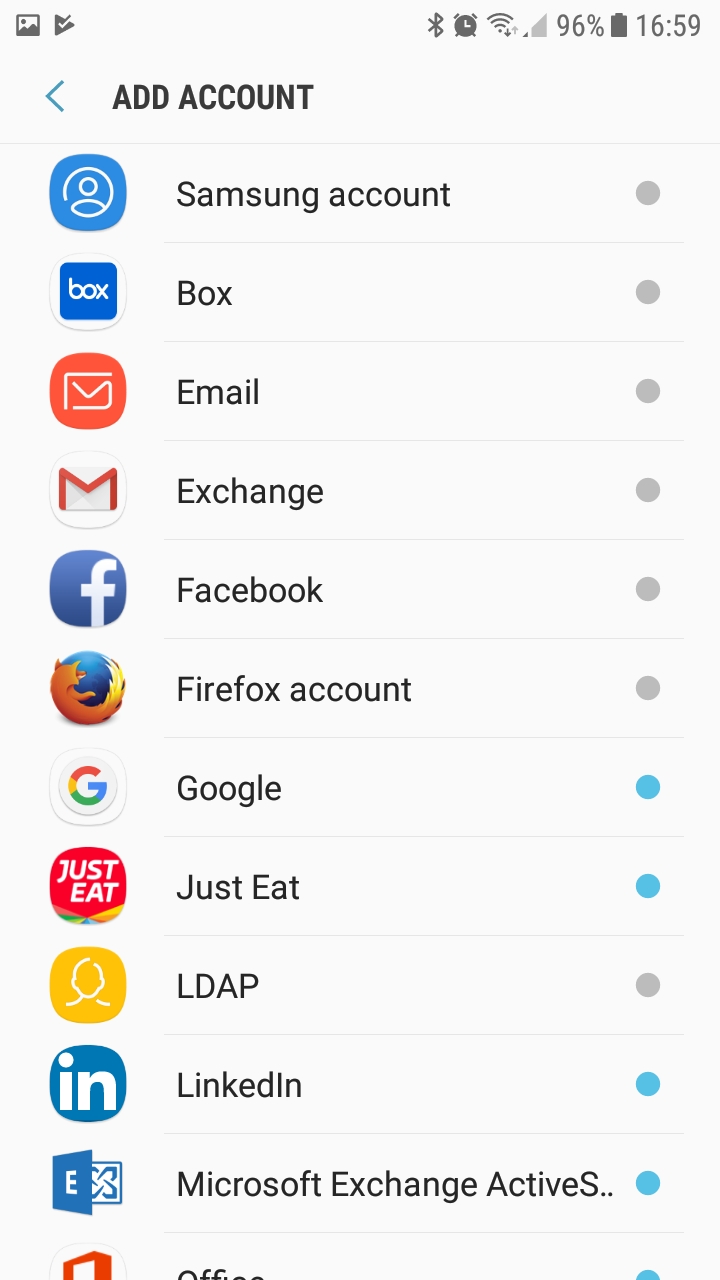
Then click on ‘Email’ to set up your own domain email account
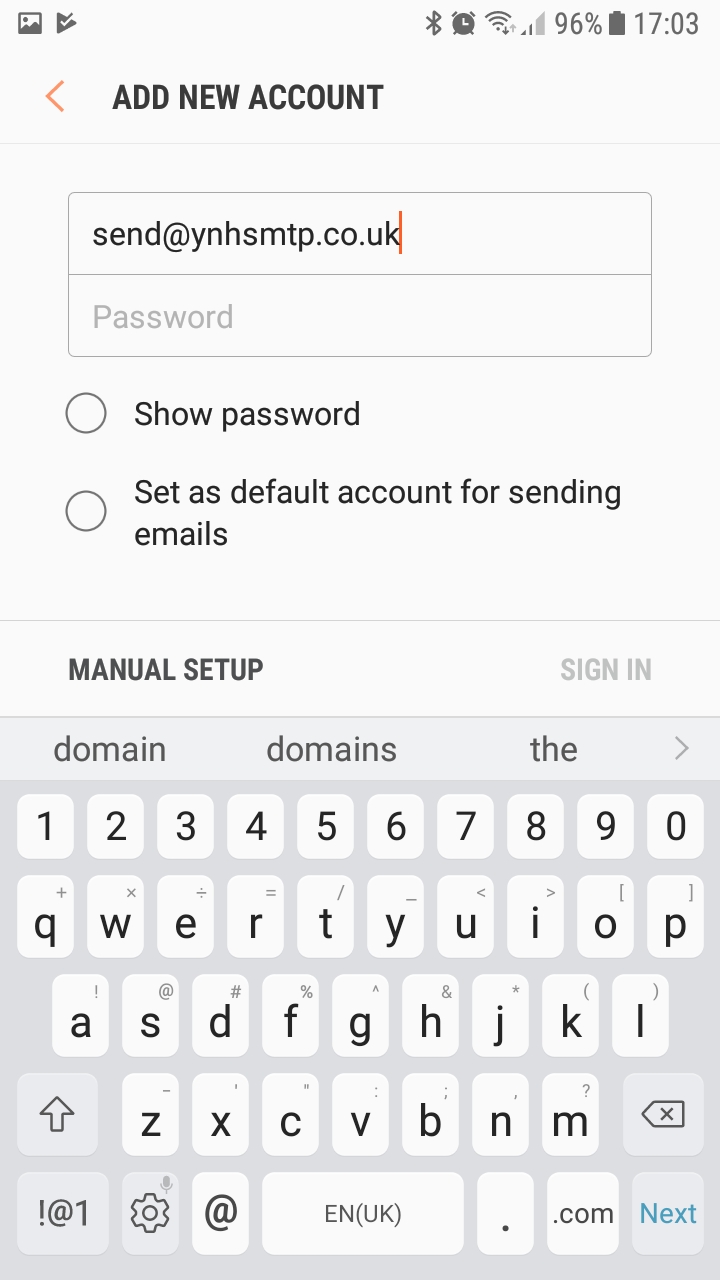
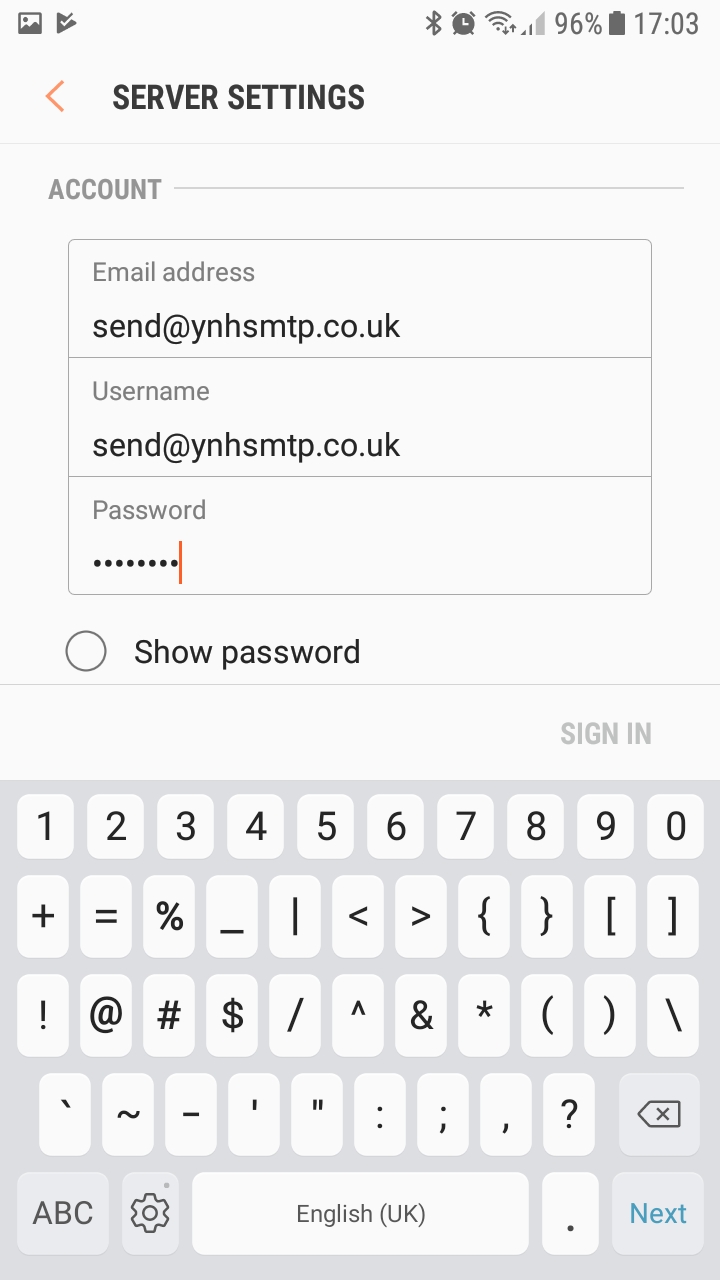
Then you will be prompted to add your email address and password. Once you have entered this ionformation click on ‘MANUAL SETUP’
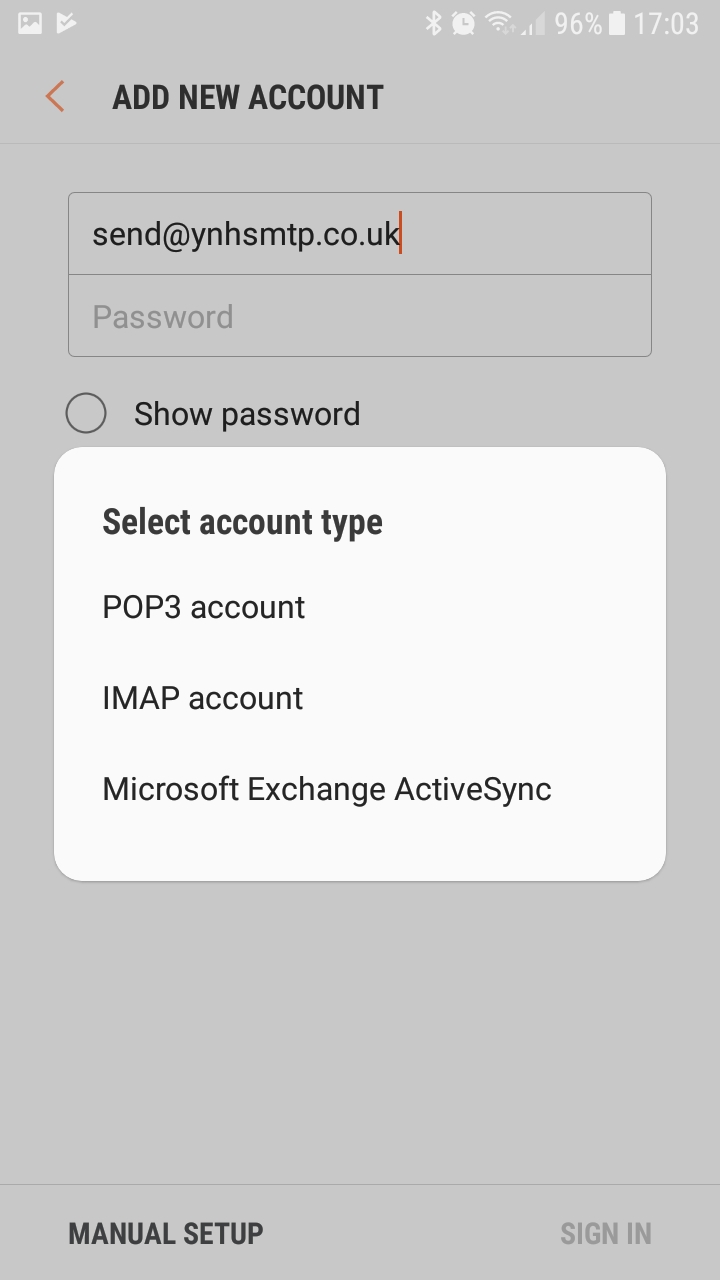
It will then ask you if you would like to set up a POP or IMAP account. For further information on choosing between POP and IMAP click here.
Your username should be your full email address:
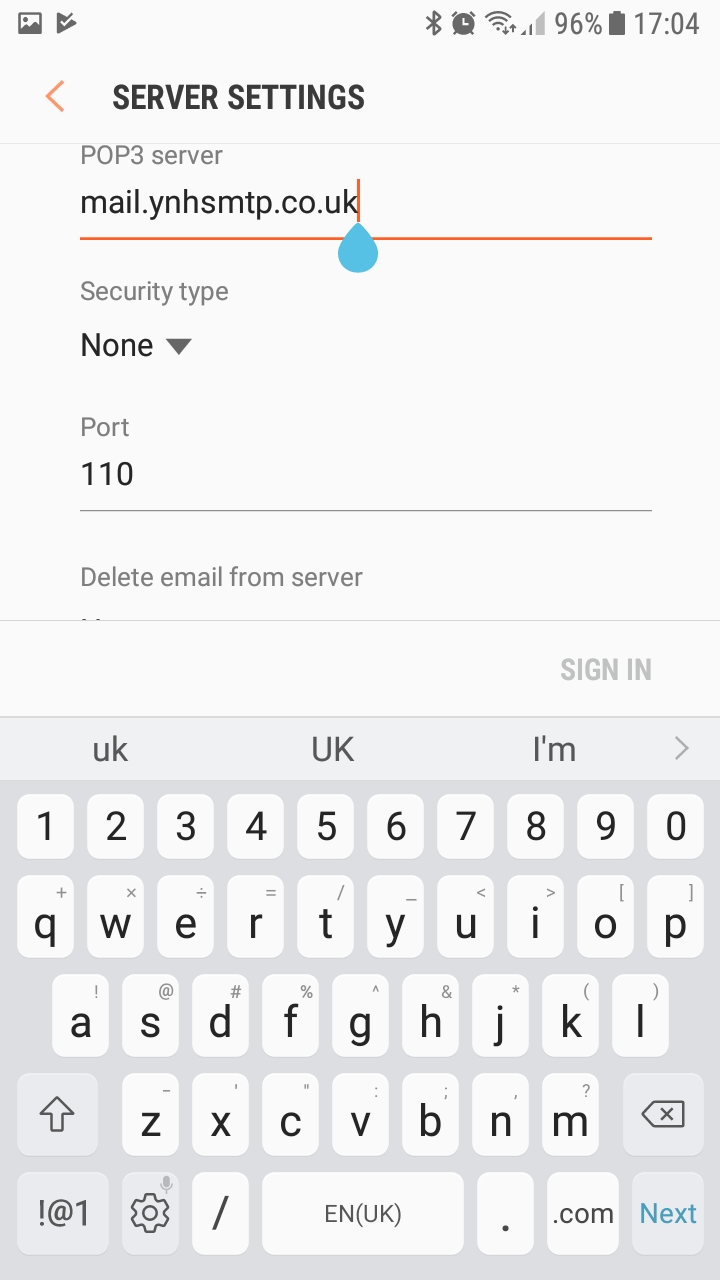
You will then be asked for the incoming and outgoing mailserver addresses and this will be mail.yourdomainname.co.uk (replace yourdomainname.co.uk with your actual domain name)
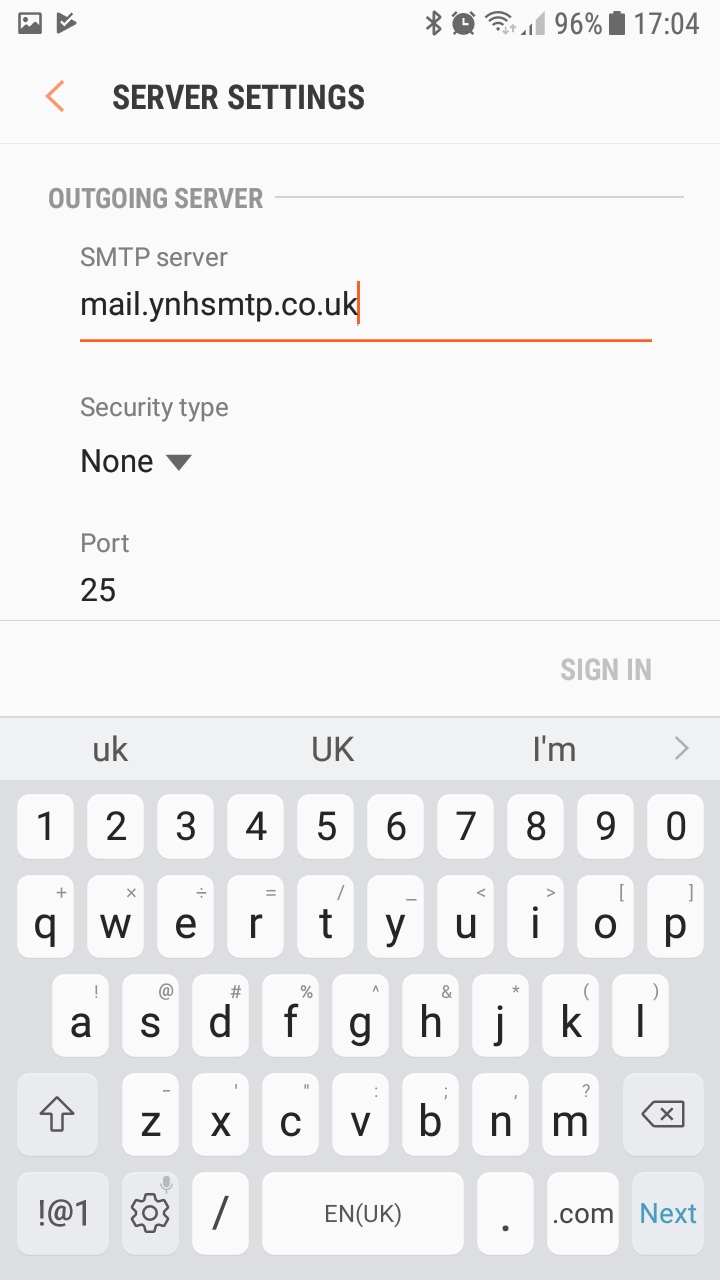
The address is exactly the same for the outgoing mailserver. Keep the port numbers to the defaults.
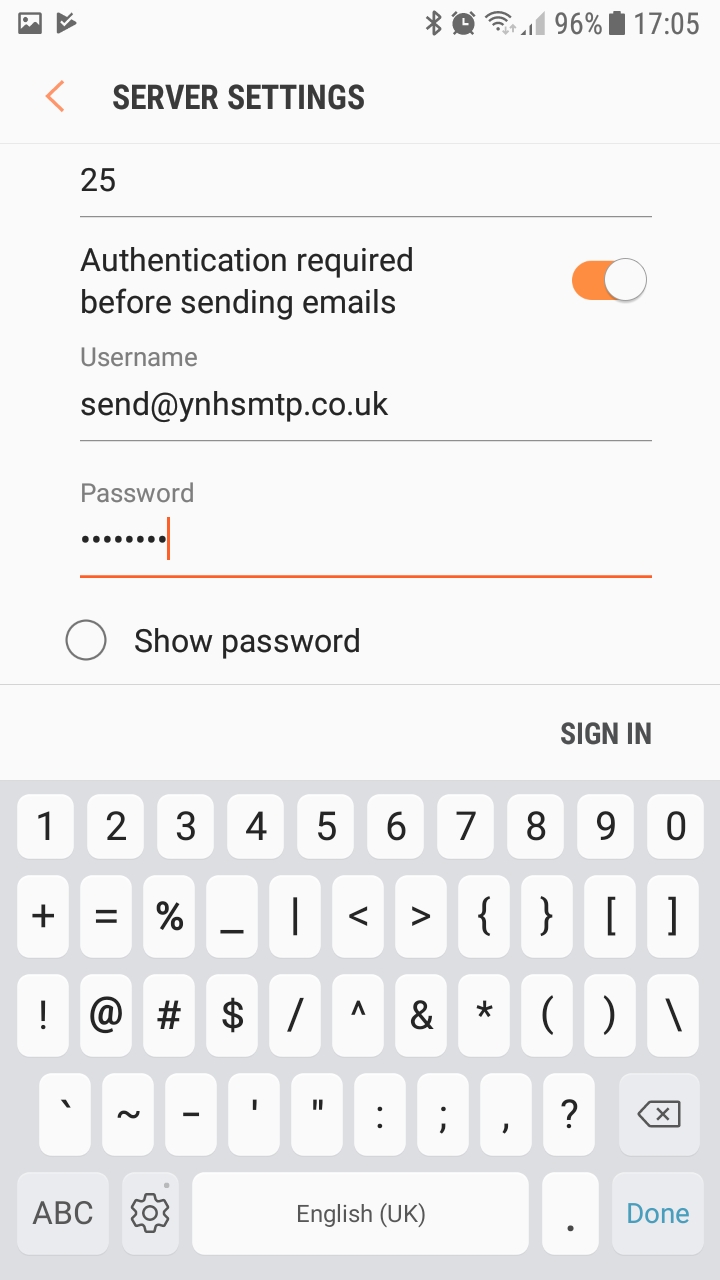
The outgoing server requires authentication so enable this option on this screen:
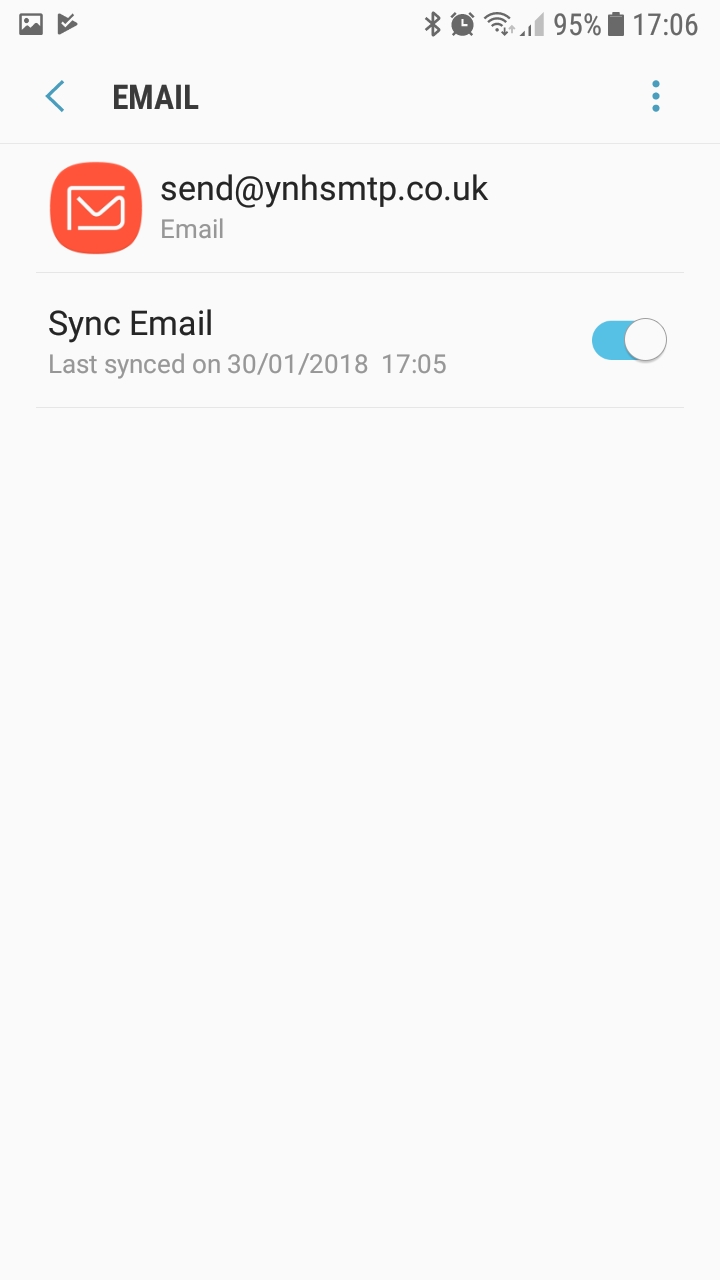
Once you have entered this information the account is set up and it will return you to the accounts screen:
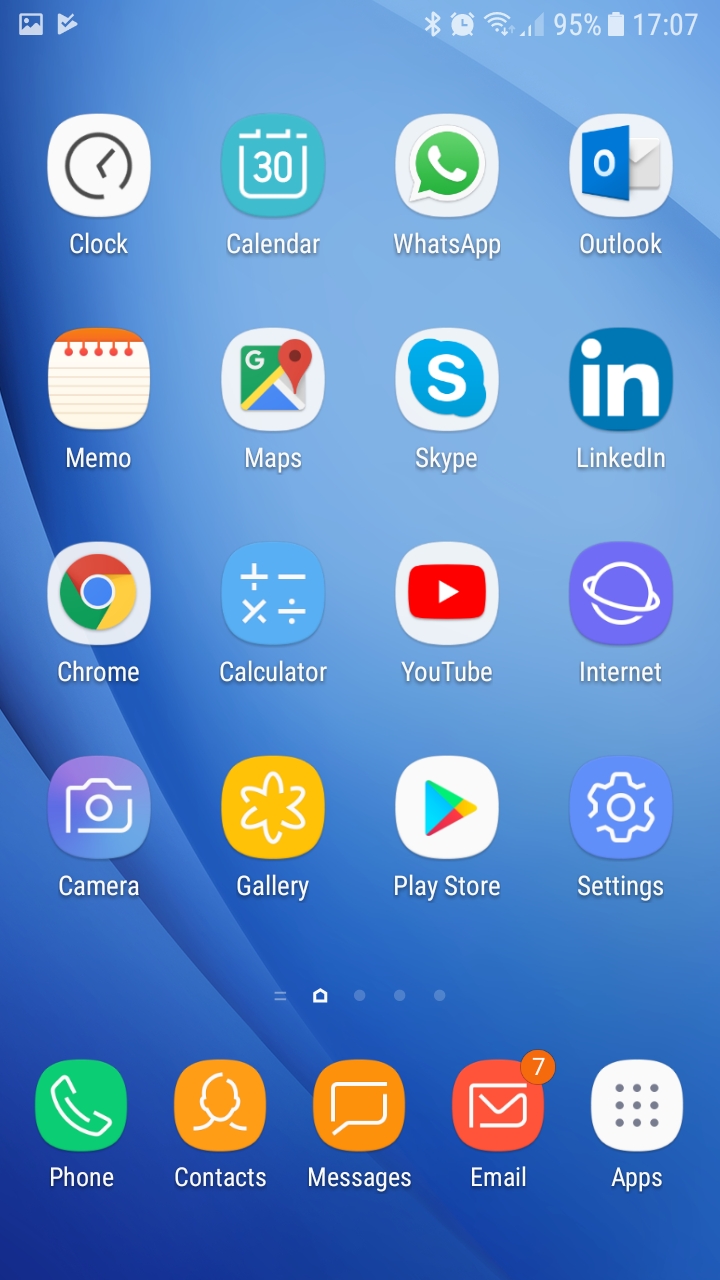
You can then return to your homescreen as your account will be ready to go:
How to set up your email account on an Iphone
Jan 18 16
The following instructions are for setting up your domain’s email address on your Iphone or Ipad:
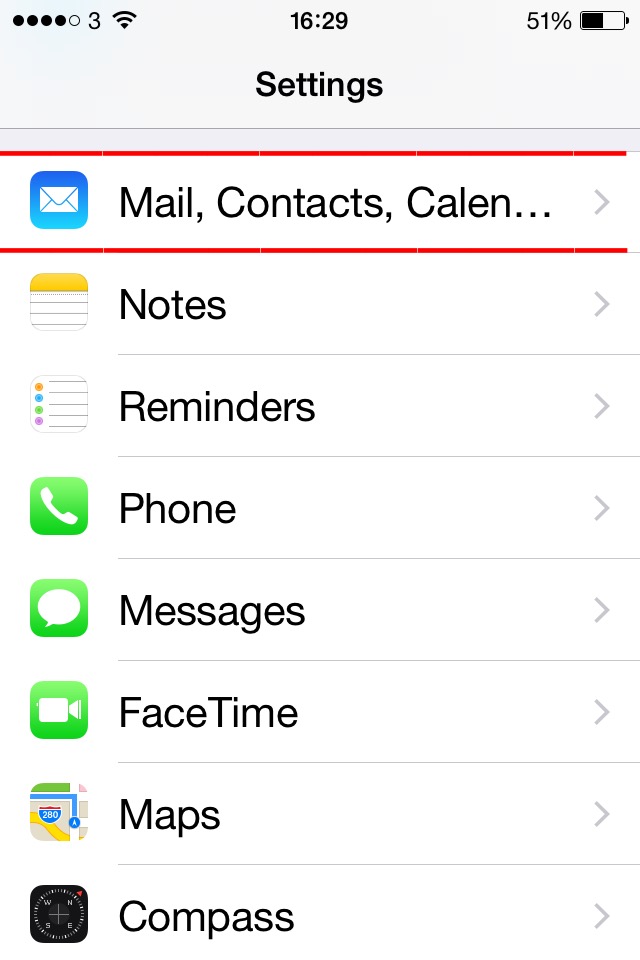
Firstly go the the Settings sections of your device and click on ‘Mail, Contacts, Calendars’ and then click on ‘Add Account’
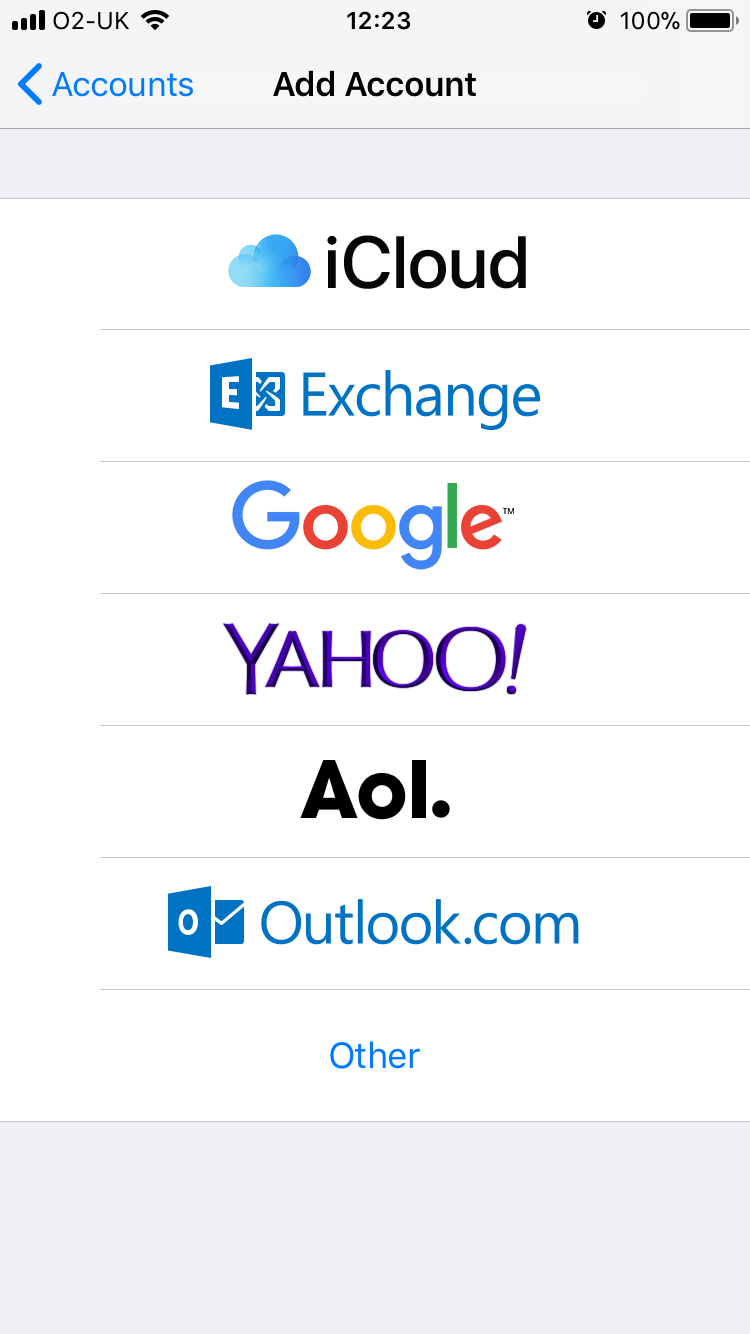
You will see the options above – click on ‘Other’
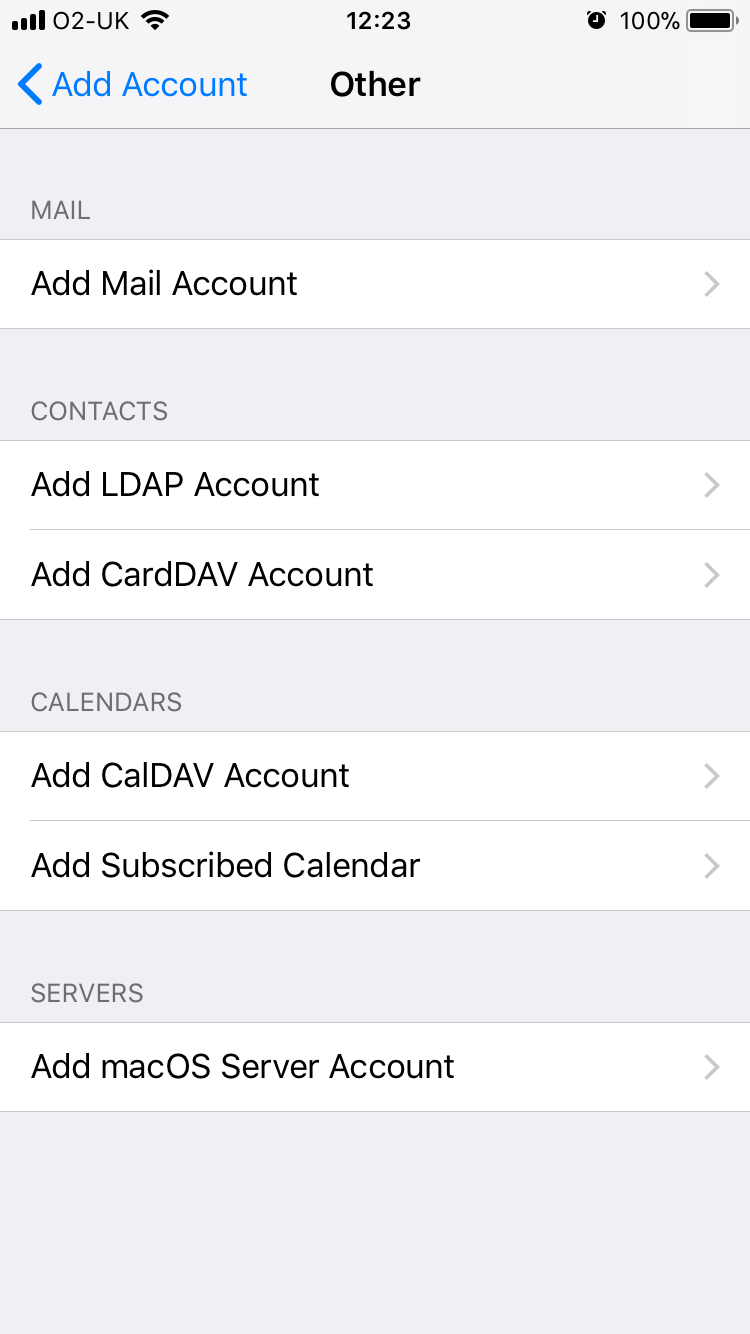
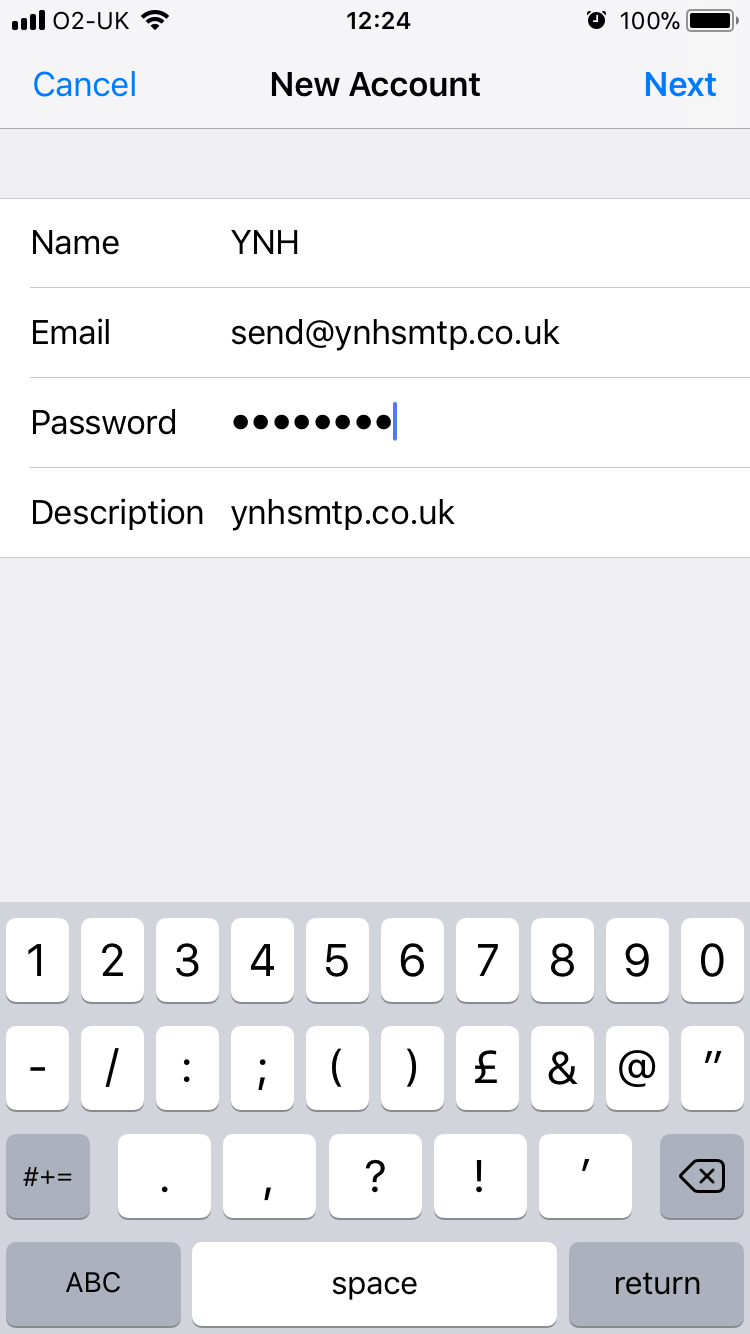
Then click on ‘Add amail Account to enter your account settings.
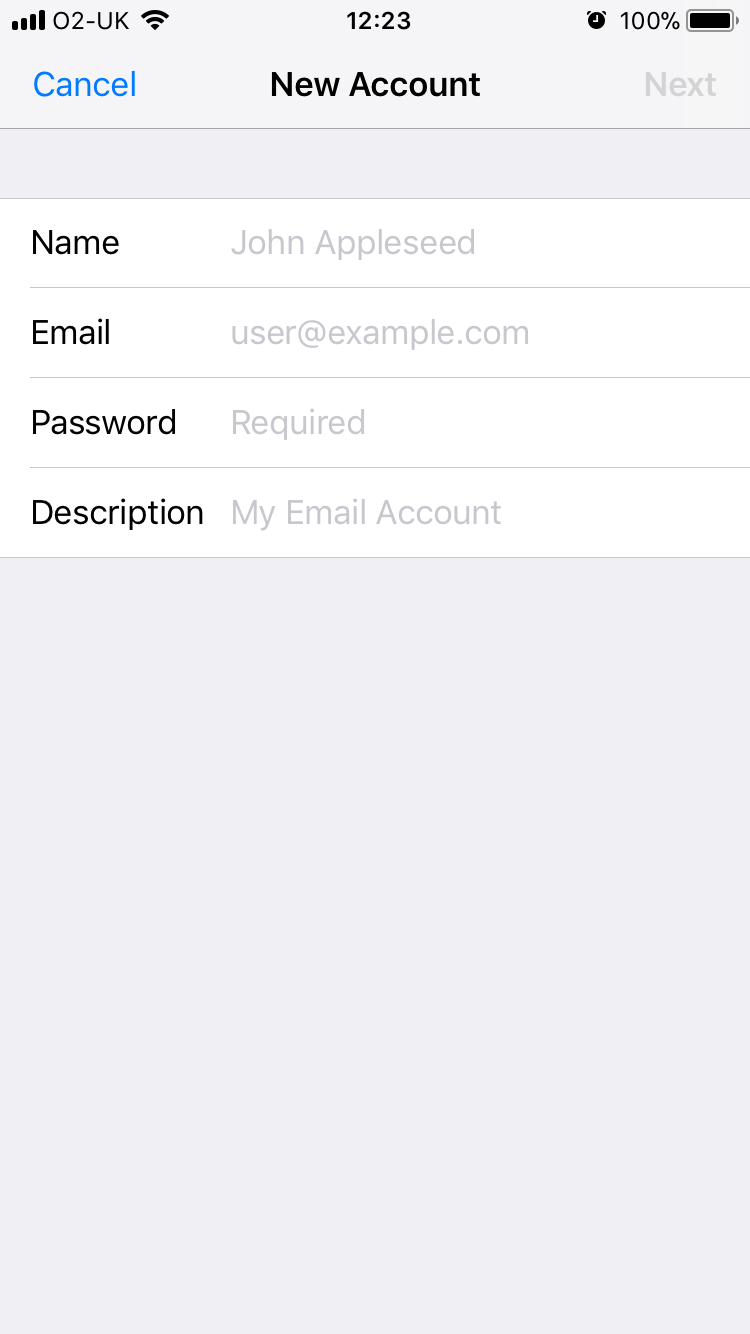
Enter the details of your email address with the same password you used in your control panel when setting up the mailbox.
The following page lets you choose whether you would like the account set up as an IMAP or POP account. For more information on choosing IMAP or POP click here.
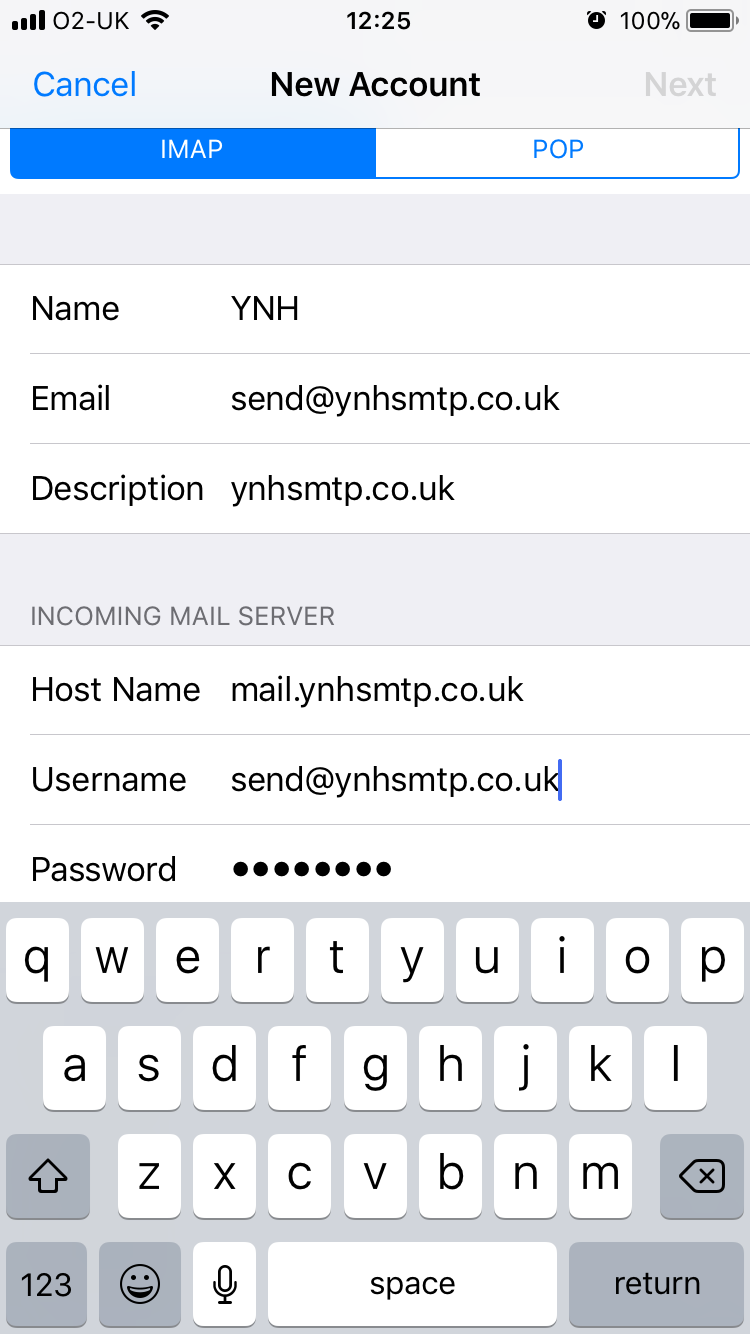
This is also where you enter the details for the incoming mailserver, which will be mail.yourdomainname.co.uk (obviously replace yourdomainname.co.uk with your actual domain name).
The username will be the full email address you are setting up and the password will be the same password you set up for the mailbox in your control panel.
You can also refer to your confirmation email for further details on setting up emails in your control panel.
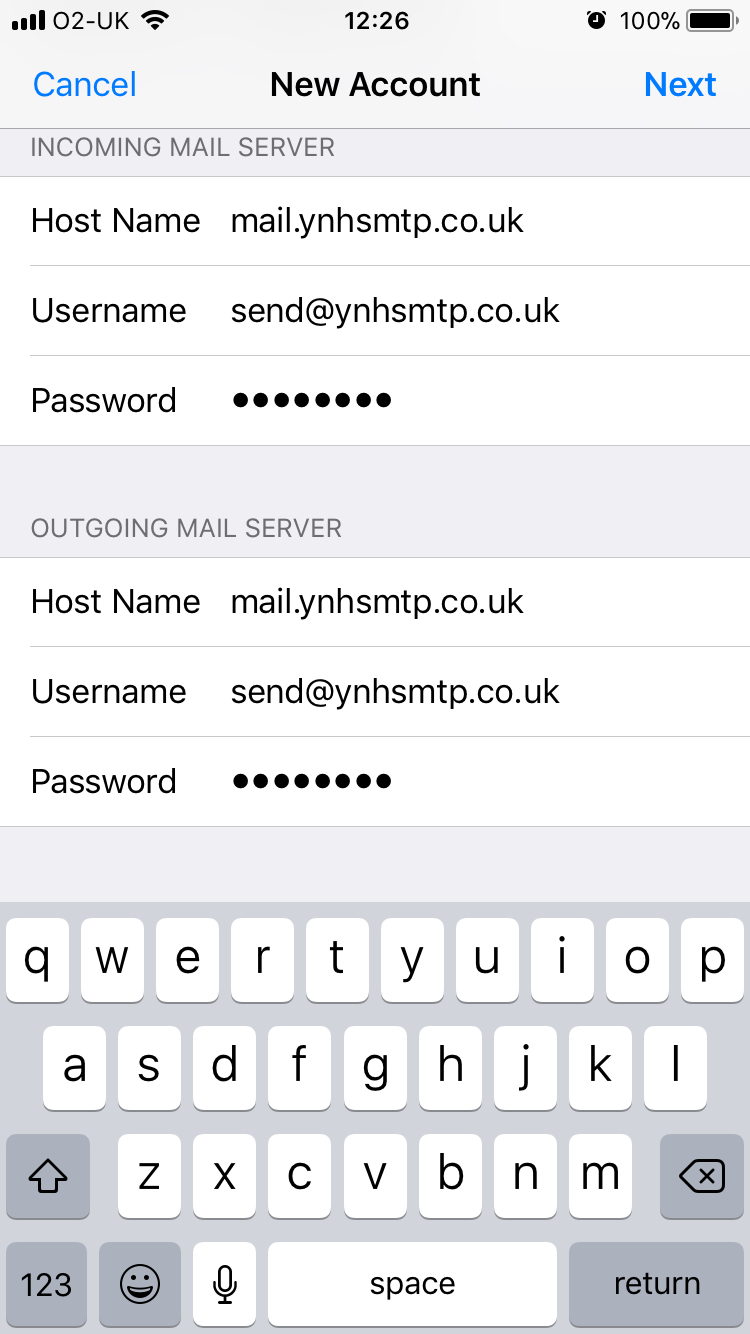
You are then prompted to enter the user details of the outgoing mailserver. For this just duplicate exactly what you entered for the incoming mailserver.
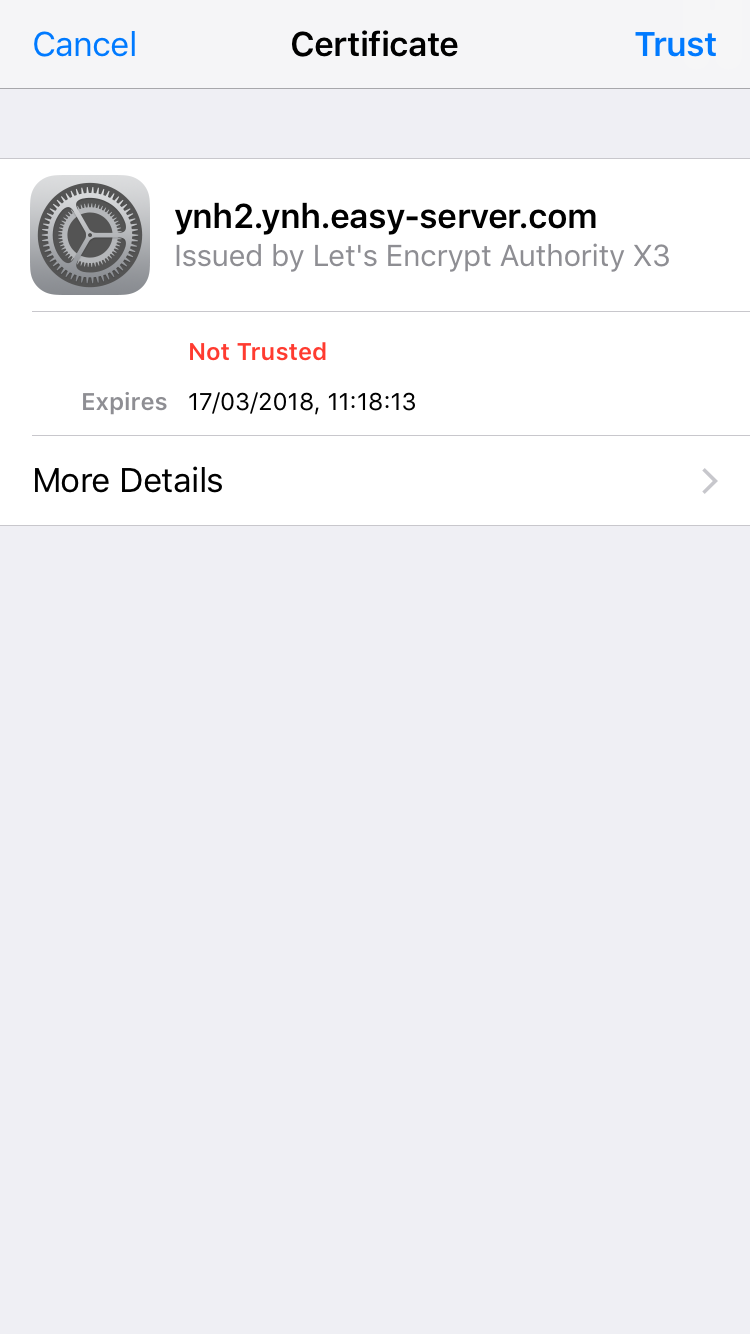
If the phone has an issue connecting to the mailserver security certificate you may see the following:
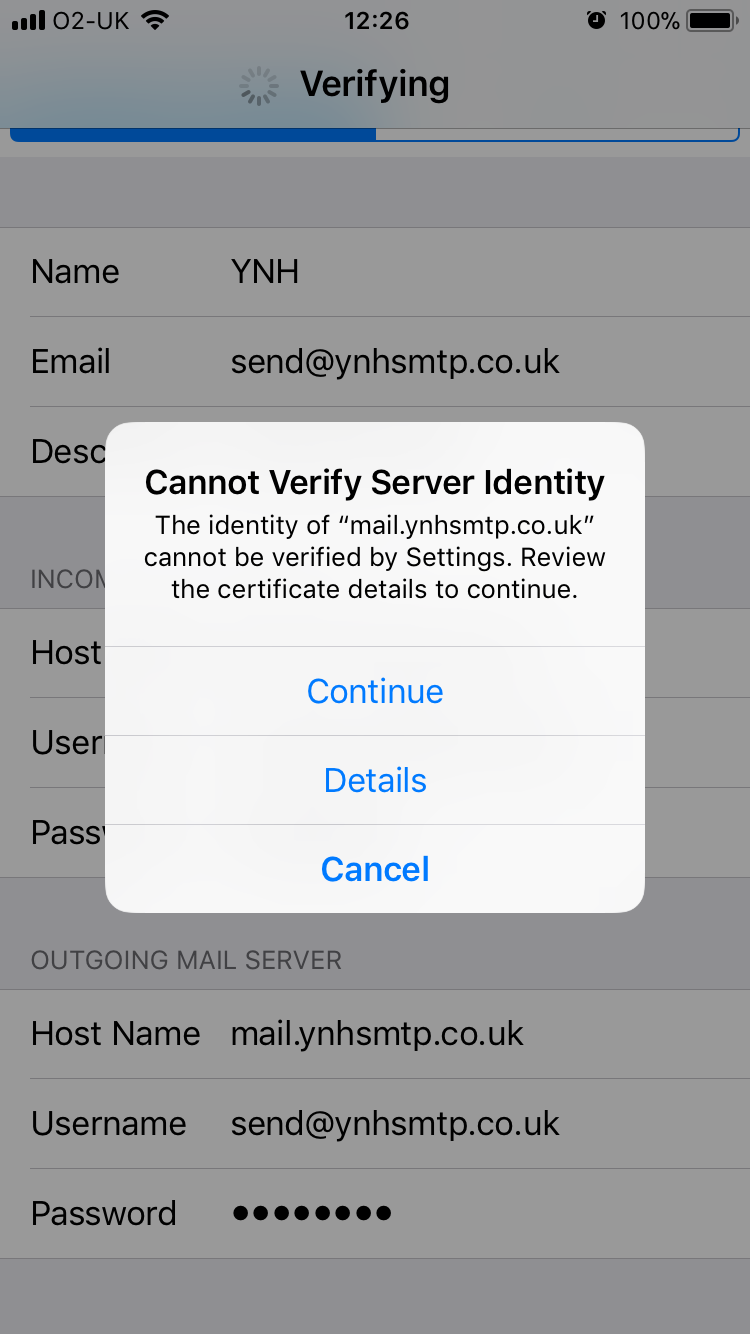
If you get this then click on ‘Details’ then ‘More Details’ then click on ‘Trust’ in the top right hand corner:
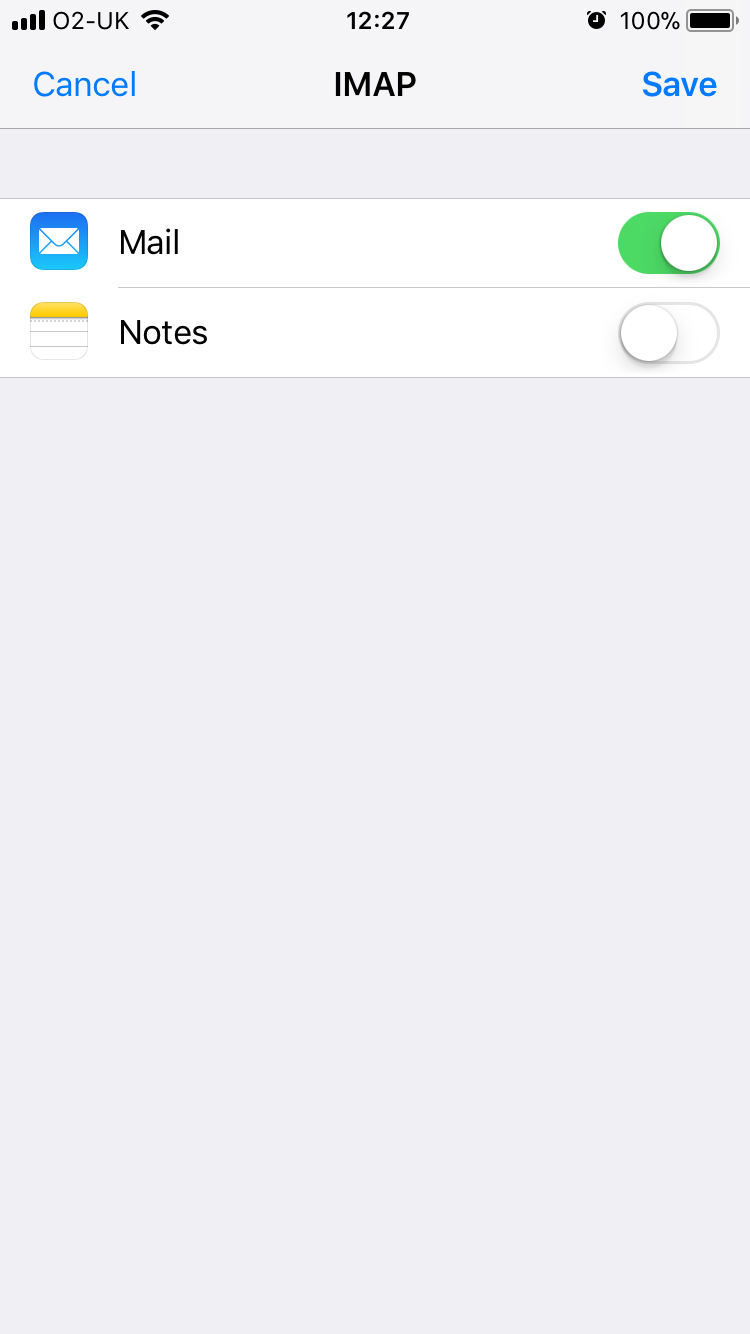
The set up of your mail account is then complete. Then just ensure that you have the mail service switched on:
Use a professional email address instead of Hotmail or Gmail
Jul 17 28
Using your own business email address looks much more professional than a free service such as Hotmail or Gmail.
Your email address represents you and your business so you want an address which looks established and presentable. When I receive an email from a business but the address is ‘davetheplumber@hotmail.co.uk’ it just looks unprofessional and less serious than ‘david@dhplumbing.co.uk’
Also the second address will look much more professional on the dhplumbing.co.uk website.
Like most people I have a Hotmail address and a Gmail address but they are used for personal interests such as online shopping and signing up for online services.
If you are still using a personal email address for your business, we strongly recommend that you take advantage of the free email accounts we offer. We can help you get this set up very quickly.
Problems when setting up email account on Macmail
Jun 15 11
If you have problems with a new email account on Macmail, more often than not the issue will lie with the Outgoing Server (SMTP) settings. The following steps show how to access the Outgoing Server settings and make any amendments:
1. Choose Mail > Preferences, and then click Accounts.
2. Select an account and click on the Account Information panel to view the Ougoing Mailserver settings.
3. Confirm that all settings are correct as per the instructions in your confirmation email.
4. Then go to the ‘Advanced’ tab as shown below:
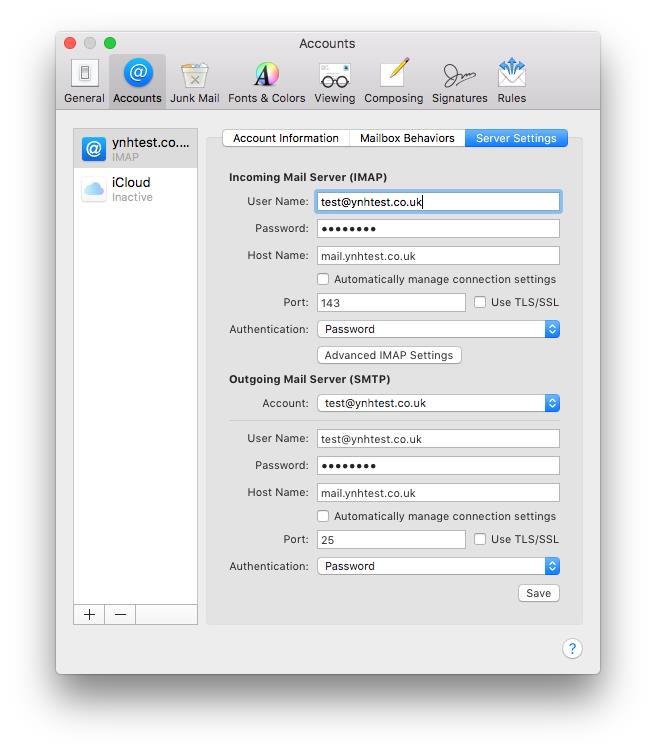
In this section you need to check the following:
1. Confirm that SSL is switched OFF.
2. Make sure you have authentication set to ‘Authenticated POP’ or ‘Password Authentication’
3. Have the Server Port set to 25.
4. Then go back to your account and save.
Problems when setting up email account on iphone
Jun 15 04
If you have problems with a new email account on an iphone, more often than not the issue will lie with the Outgoing Server (SMTP) settings. The following steps show how to access the Outgoing Server settings and make any amendments:
Firstly go to the Settings App, then click on ‘Mail, Contacts, Calendars’
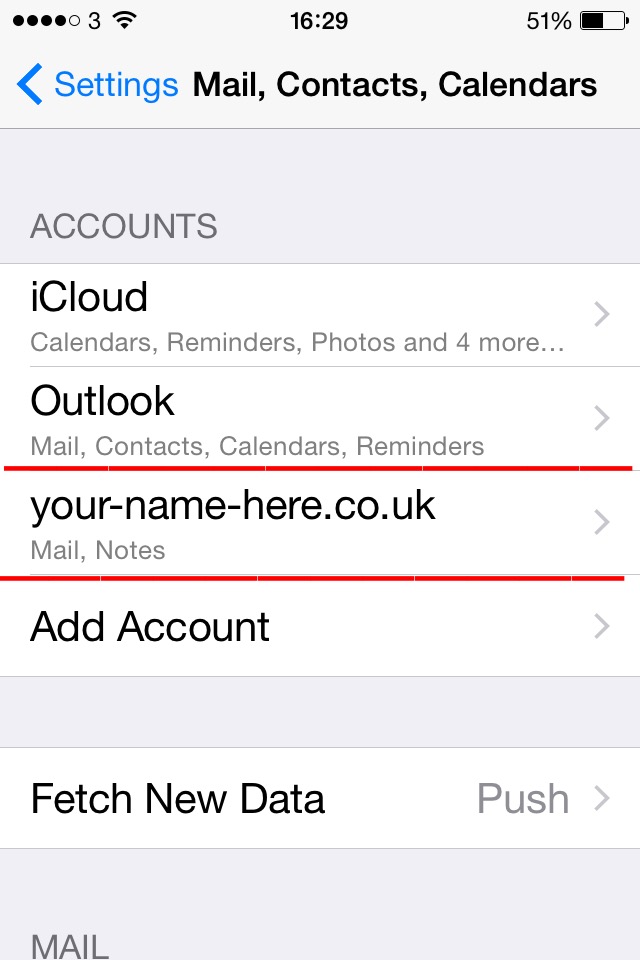
On the accounts page, click on the account you are having problems with.
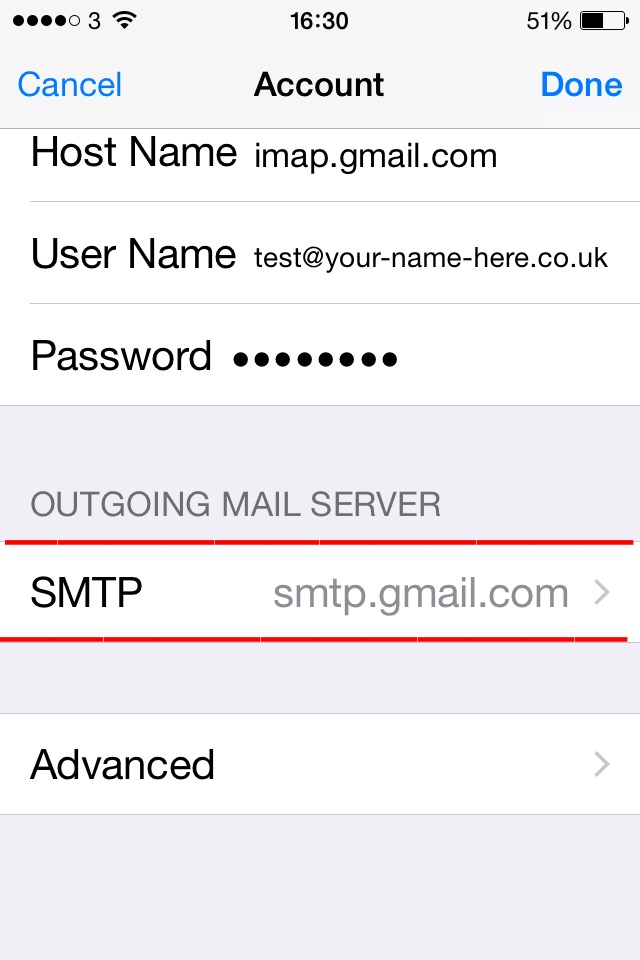
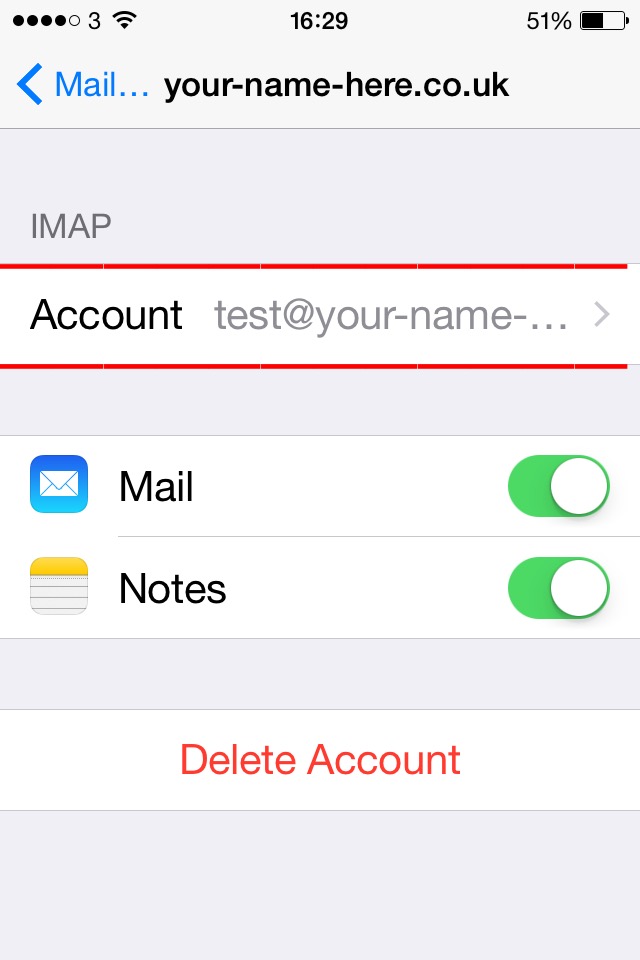
This will show you all the settings for that email account. Scroll down then click on the ‘Outgoing Mailserver’
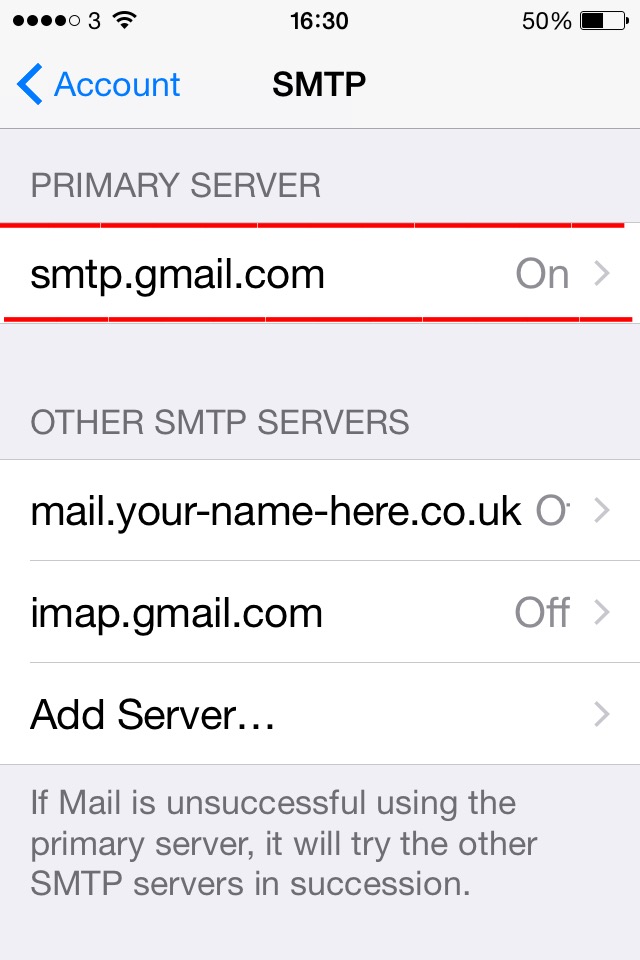
You will see a list of all SMTP servers you have stored in your phone. The Primary Server is the one you will be using so click on that one.
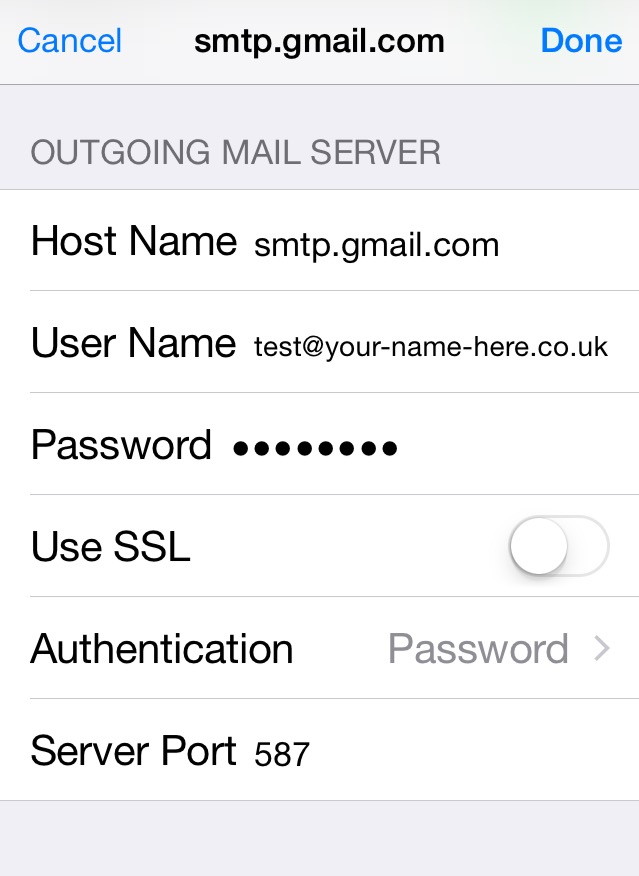
For the settings of the outgoing mailserver you need to check the following:
1. Confirm that SSL is switched OFF.
2. Make sure authentication is set to ‘Password’
3. Have the Server Port set to 587 or 25.
4. Then click on ‘Done’
The settings should be verified. If this doesn’t work, double check all the spellings and make sure you have the dots in the right place etc. You can also try re-entering the password if you continue to get an error.
Email Passwords & Spam
Feb 14 27

Due to spammers increasingly targetting email addresses with weak passwords, we would ask you to reset ‘easy’ passwords to something more complex.
This could be a password with a dictionary word or a persons name, etc. spammers are able to crack these very easily and then use your email address to send spam, this also causes problems with the servers becoming blacklisted.
We recommend a mixture of upper and lower case letters and numbers with a special character, eg. # , / <
An example of a strong password would be:
67Nd#Jd4mH
You can reset your email passwords via your control panel, or if you prefer we can do this for you.
Many thanks for your time and help with the continuing battle against spammers.
How to set up your email account on a Galaxy S3
Mar 13 19
The following instructions are for setting up your domain’s email address on a Samsung Galaxy S3:

Firstly go to the Settings section of your Phone and scroll down to Add Account

Then choose Email to enter your account settings.

Enter you email address and password, then click on Manual Setup

You will then be asked which type of account you would like to set up, in most cases this will be POP3

You will then be asked for the address of your POP server which is mail.yourdomainname.co.uk (just replace yourdomainname.co.uk with your actual domain name)
You don’t need to enter a security type and the port number should be 110 (which it will be by default)
Then go to Next

You then need to enter the settings for the Outgoing Mailserver. Tick the ‘Require Sign In’ box and then enter your email address and password again.
Then click on Next.

You will then be shown additional account options such as receiving a notification when an email arrives.
If this is the main email account on your phone you can tick the box which says Send email from this account by default.
Then click on Next.

The account is then set up. You can give the account a name if you wish and then enter your name, as you want it to appear in a recipient’s mailbox.
Then click on Next and you’re done.
How to set up your email account in Windows Mail
Dec 12 13
The following instructions are for setting up a new email account in Windows Live Mail.
1. On the top navigation panel, click on ‘Accounts’ and then click on the Plus sign to add a new account.
Then enter your email address ans password and tick the box which says ‘Manually Configure Server Settings’ and then click ‘Next’

2. Choose pop or imap and enter the incoming mailserver details which will be mail.yourdomainname.co.uk (obviously replace yourdomainname.co.uk with your actual domain name).
The username will be the full email address you are setting up and the password will be the same password you set up for the mailbox in your control panel.
You can also refer to your confirmation email for further details on setting up emails in your control panel.

3. The account is now added, but to be able to send emails you need to ‘authenticate’ the Outgoing Mailserver.
Go the the ‘Properties’ section then click on ‘Servers’ and tick the box which says ‘My outgoing server requires authentication’ then click on the ‘Settings’ button.

Tick the box which says ‘Use same settings as incoming mailserver’ and click ok.
The account is then set up and ready to send and receive emails.
How to send and receive your domain emails using Gmail servers.
Dec 12 10
 A Gmail account is very easy to set up and can also be used to send and receive your domain name’s emails.
This is a very handy freebie which can come in very useful for people who are having problems sending emails using their Internet Provider.
They also allow a huge 8GB of storage space for your account. This will be particularly appealing for users with IMAP accounts, whereby all the emails you send and receive are stored on the server and this does require a lot of space.
The instructions for setting up your domain name emails in Gmail are as follows:
1. If you do not have one already, sign up for a Gmail account here
2. Once you are signed up, go to your homepage/inbox and click on the ‘Settings’ section in the top right of the screen.
3. Click on ‘Accounts and Import’ and then click on ‘Add another email address you own’
4. Enter your email address and then choose the ‘Send through Gmail’ option.
5. You will then be prompted to send verification to your email address to confirm you are the owner. Once you receive the email follow the instructions.
6. Then go back to ‘Settings’ section and your email address will be listed as an alternative to your Gmail one.
7. Click on the ‘Make Default’ button to make this your standard email address.
Pointing your domain’s mail records to Google
Each domain name has ‘DNS records’ which tell the Internet which web servers handle your website and emails. When you set up your mail with Google, you then have to modify your ‘MX Records’ to let the Internet know that Google will be handling your mail.
To do this you need to login to your Control Panel and go to the DNS section.
Then highlight your existing MX records and click on ‘Remove’
Then you need to add the following records:

The above MX records will point your emails to Google so that their mailservers can handle your emails.
For a full explanation of how DNS records work please visit the following page:
http://www.your-name-here.co.uk/blog/2013/01/28/dns-records-explained/
How to set up an email account in Thunderbird
Nov 12 12
The following instructions are for setting up your domain’s email address in Mozilla Thunderbird:
1. In Thunderbird, go to the Tools menu and then select Account Settings. Then go to Account Actions and click on Add Mail Account:

2. Enter your name email address and password and click on Continue.

3. Click on Manual Config to enter your own server details:

3. Choose pop or imap and enter the incoming mailserver details which will be mail.your-name-here.co.uk (obviously replace your-name-here.co.uk with your actual domain name).
The port numbers are 110 for the incoming mailserver and 25 for the outgoing mailserver.
You should choose Normal Password to authenticate the servers
The username will be the full email address you are setting up.
Then click on Done and your account will then be added to Thunderbird.